Social Icons

Showing posts with label creepy. Show all posts

31 October 2012

Vampire Fang Nails


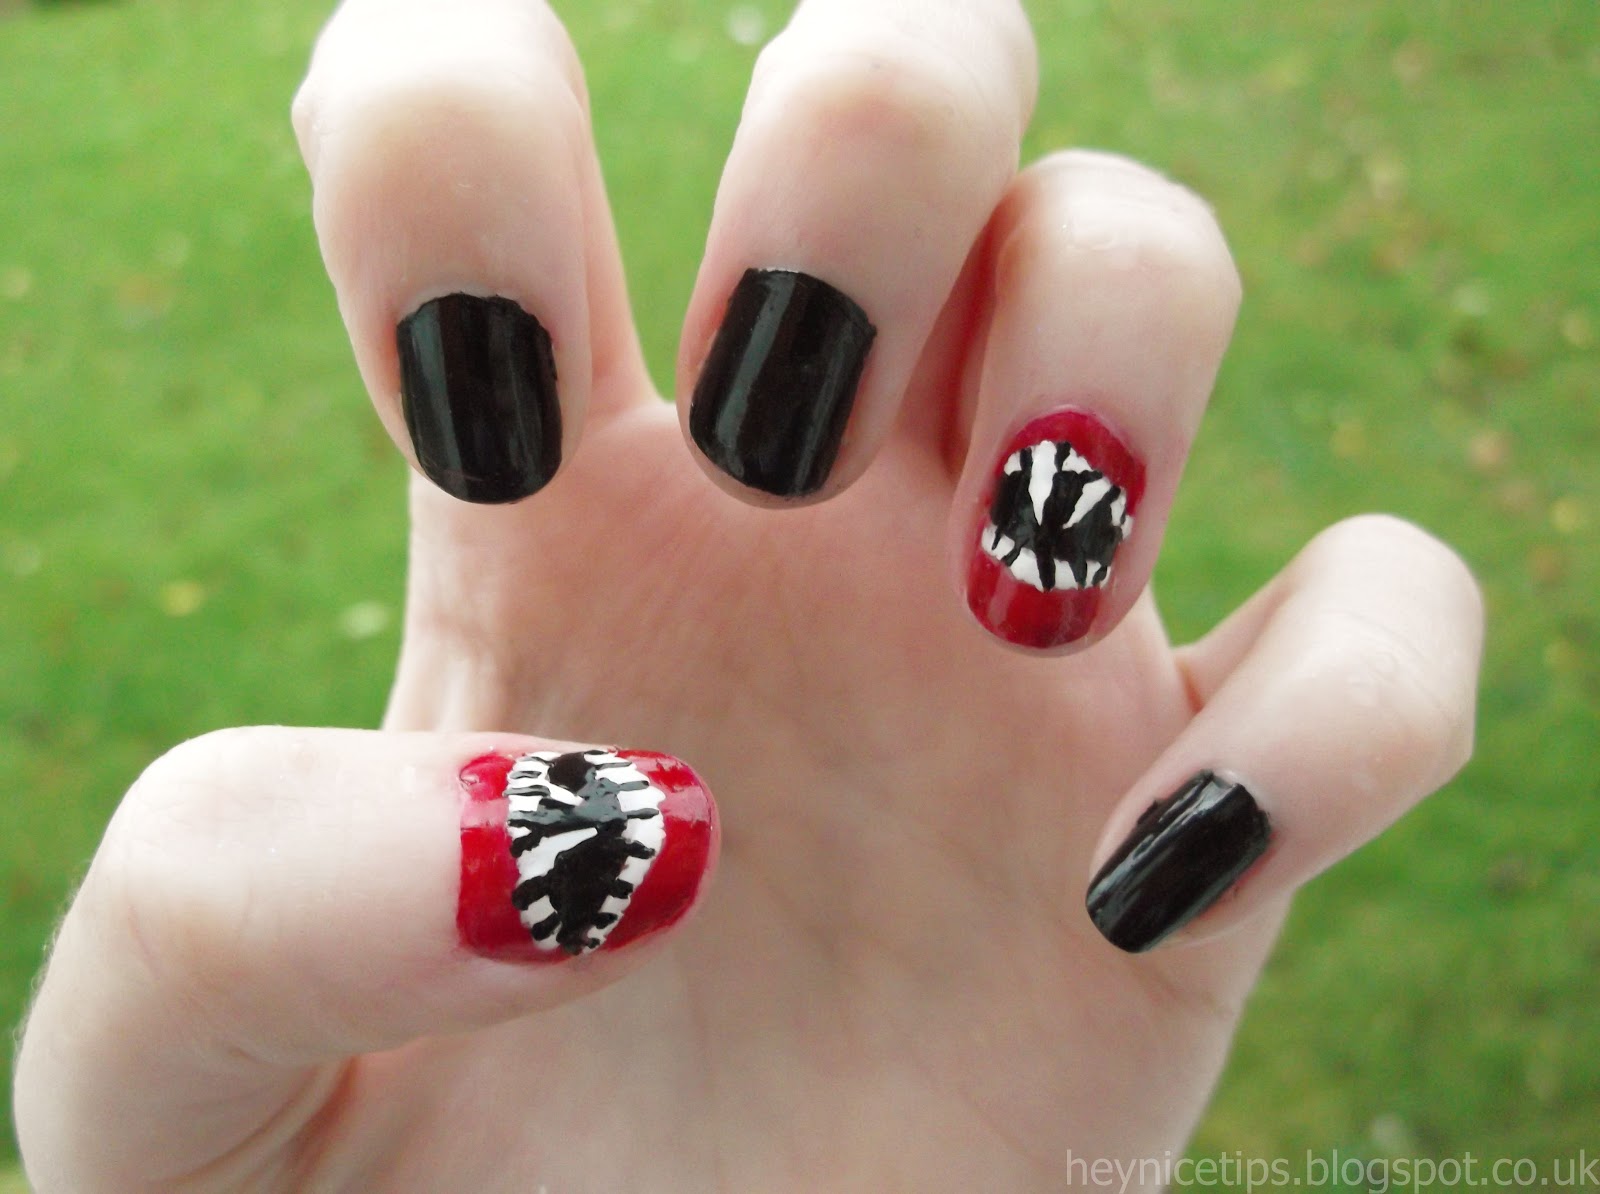
This tutorial shows how to create this vampire fang nail design with two accent nails :)

1)

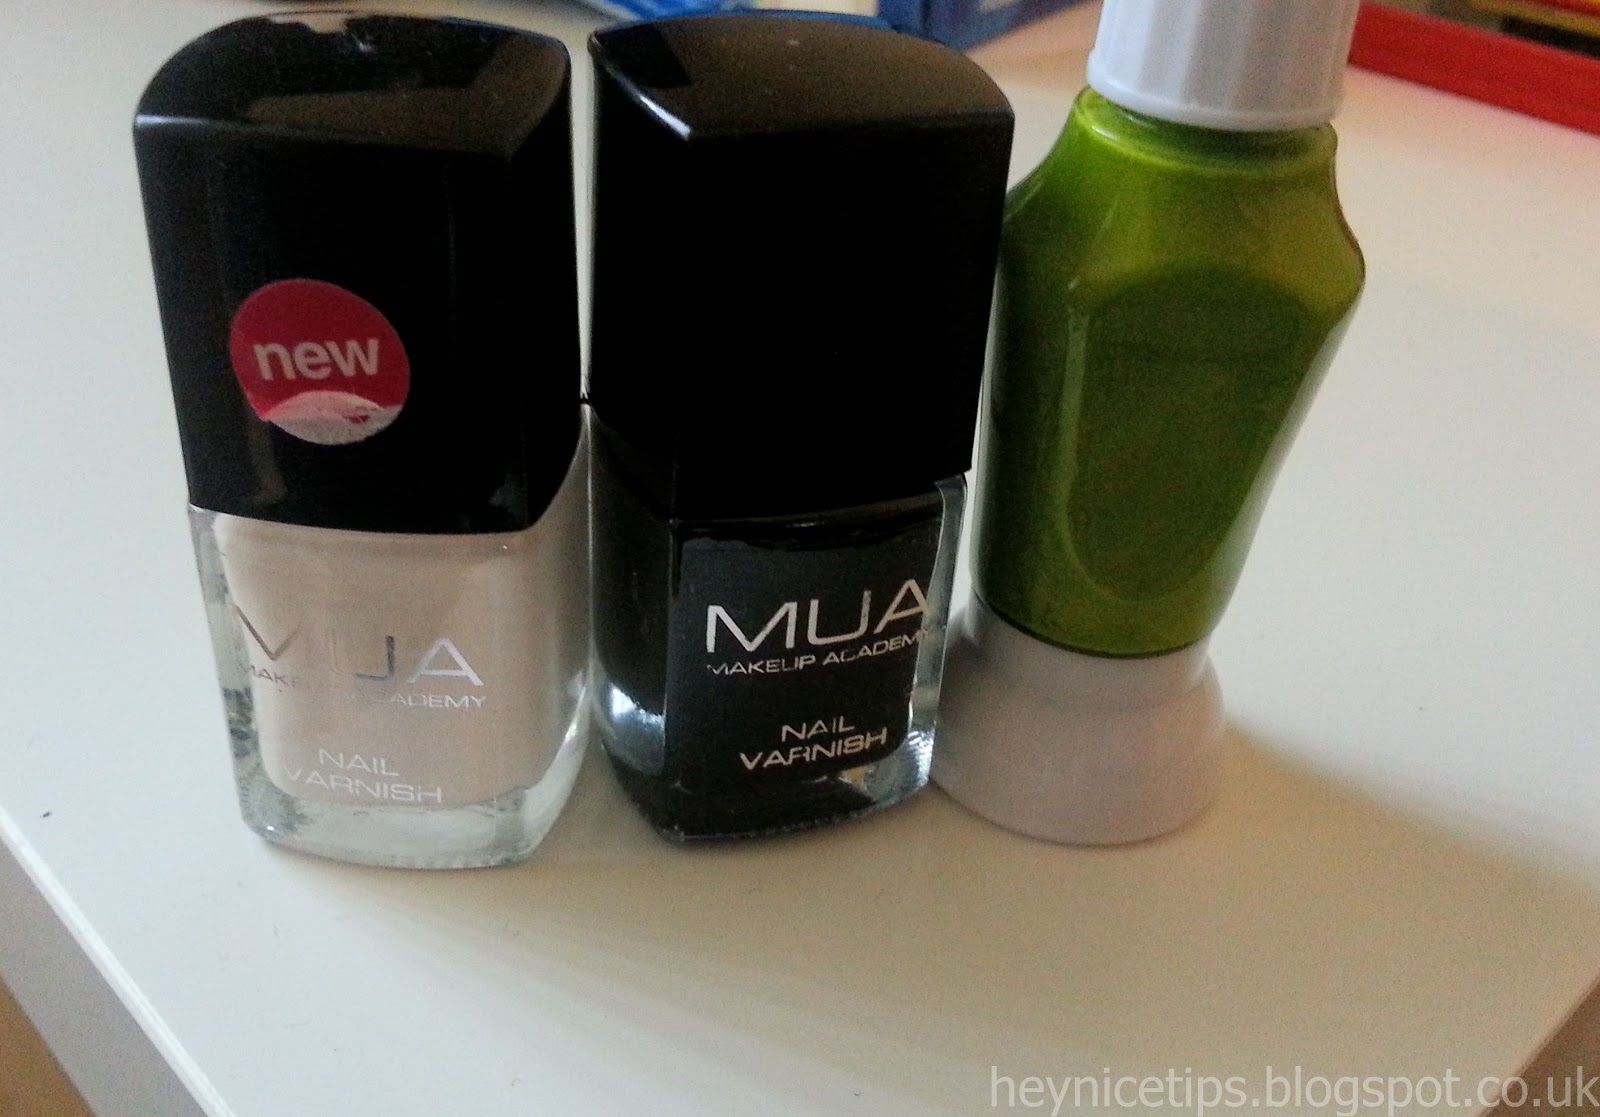
For this design you will need three colours; red, white and black. I used (l-r) Barry M #222 Red Wine, MUA All Nude, MUA #2.

2)

To start use your red varnish to paint two lips on your accent nail. Paint a french-tip style red line on the top of your nail, and repeat for the bottom - do the same for your thumb nail. Next, paint the remaining nails with your black shade.

3)

The next step is to paint on the teeth; take your white varnish and make dabbing motions along the lips to create irregular oblong shaped teeth; then extend two in the middle at the top to create sharp, longer fangs.

4)

Then, using your black varnish, fill in the remaining blank nail being careful not to cover any of the teeth.

5)

Those teeth are a bit too neat for a vampire, so now take your black varnish and carefully add outlines between the teeth to make them look more crooked and scary.

And this is the finished vampire fang Halloween nail art :)


24 October 2012

Frankenstein Monster Nails


This is another Halloween themed tutorial for October - five of Dr.Frankenstein's monsters :)

1)

For this nail design you need three colours; white, black and green. I used MUA All Nude, MUA #2 and the green is from a Nail Star set. 

2)

The first step is to paint two thin coats of your green varnish on all of your nails.

3)

Next, using your black varnish, paint a broad stroke along the bottom of your nail, then paint two thin strokes extending down each side of your nail to create the outline of the monster's hair. 

4)

To finish off the hair simply paint random triangle-like shapes extending from the broad black line at the base of your nail. Around 3 or 4 triangles will fit best. Make sure there isn't any excess paint on your brush or they will drip down lower than you want. 

5)

Next, use your white polish to paint two blobs to create the circle shape needed for the eyes. these do not need to be perfectly round; it's a monster after all :)

6)

Then take your black polish and carefully dot a little circle in each white blob to create the eyes. Next, carefully paint a mouth line around 3/4 down your nail that stretches almost to each side. 

7)

The last step is to, using your black varnish, carefully paint three or four vertical lines through the initial mouth line. Repeat these steps for the rest of your nails or just have one accent monster :)

And this is the finished Frankenstein monster nail art design:


22 October 2012

Spider Web Nails


This is my purple spider web manicure nail tutorial; two webbed accent nails and a gothic french tip style give a shiny, spooky design perfect for Halloween :)

1)

For this design you only need two colours; a dark shade and a shiny silver polish. You can choose any dark colour you like; navy, black, purple etc - I used purple. The products I used are Barry M #303 Bright Purple and MUA #11. 

2)

Begin by painting all your nails with your dark polish.

3)

To start the web design, carefully paint three thin lines on your thumb nail with your silver polish. The lines should spread out diagonally from the bottom outside corner of your thumb nail.

4)


Next, again using your silver varnish, carefully paint these slightly curved webs in-between each of your diagonal lines close to the top of these lines. If you find your brush too thick you can use a toothpick instead.


5)

To finish off the web design add another two rows of webbing across your diagonal lines. The bottom two should be closer together than the top two.

6)

Repeat these steps on your accent nail to finish off the web part of this tutorial; this accent nail should only have two lines of webbing across as the dimensions of the nail means it'd be too cramped to have three.

7)

The final step in this design is to add the silver french tips to your remaining purple/dark nails; to create a smooth line try rolling your nail slightly toward your brush as you paint.

And this is the finished shiny spider web nail art design :)


7 October 2012

Blood Manicure Nail Art


This is the first of my Halloween themed tutorials that I'll be posting this month: a blood-like, dripping red manicure.

1)

For this nail design you need just two colours; a white and a mid-to-dark red. I used MUA 'All Nude' and Barry M #1A 'Red Wine' 

2)

Start by painting two thin coats of your white varnish on all of your nails.

3)

Next you need to paint these red french-tips onto all of your nails; try rolling your nail towards the brush as you paint to create a smooth line, although adding the dripping blood in the next step means these do not need to be perfect.

4)

Starting with any nail to add the dripping blood to; do this by painting random downward strokes from your tips; these can be oddly shaped so don't worry about neatness. Then add some random blobs of 'blood' further down your nail by simply dabbing your brush onto it.

5)


Do the same for all of your nails, aim for around two or three downward drips from each tip and a similar number of blobs so that it doesn't become too crowded. Also, try to blend in where the downward drips join the top of your nail, so they do not join too straightly.

And this is the finished Halloween blood manicure :)


(the drip effect looks best upside down in pics!)