Social Icons

Showing posts with label sparkly. Show all posts

17 April 2013

Pink Floral Birdcage Nails


This tutorial shows how to make this pretty design. It features a pink birdcage, bird silhouettes and some flowers - a cute design perfect for spring time :)

1)


For this tutorial you'll need a green, light pink, aqua blue, medium pink and a clear topcoat. You'll also need some pink nail gems. I used (l-r) Nail Star Light Green, Barry M #309 Strawberry Ice Cream, Rimmel Lasting Finish #703 Pear Drop, Barry M #279 Bright Pink. 

2)

First paint all your nails with your aqua blue varnish. 
3)

For the flowers, start by painting some irregular circle shapes with your darker pink on your middle and thumb nails.

4)

Next, use your light pink shade to carefully paint some definition onto the flowers. To do this, paint stretched out 'C' and 'U' shapes. 

5)

Now for the birdcage, paint a thin square on your accent nail with your darker pink polish. Then add a curved dome shape on top, and a little line extending from this.

6)

Next, make sure you only have a small amount of varnish on your brush, and carefully paint some cage lines inside your square and dome. Then add two small diagonal lines extending from the bottom corners to add some detail.

7)

Now for the bird silhouette, start by painting a thin, elongated 'M' shape across the side of your index nail.

8)

Next, fill out this shape a little bit to create some curved wings. One brushstroke across each length should do it. 

9)

To complete the bird design, add a slightly angled square at the bottom to create tail feathers. Then add a small rounded line at the front for the bird's head. Paint a layer of your topcoat over your nail, and then using tweezers apply three light pink gems to the opposite corner. Repeat on your little finger nail, and if you like paint the bird in the opposite direction with gems at the bottom (which I have done).

And this is the finished pink floral birdcage design :)


10 March 2013

Pink & Black Glitter Gradient Nails


This tutorial shows how to create this light pink glittery design. It features two gradient glitter nails and a diagonal black pattern. 

1)

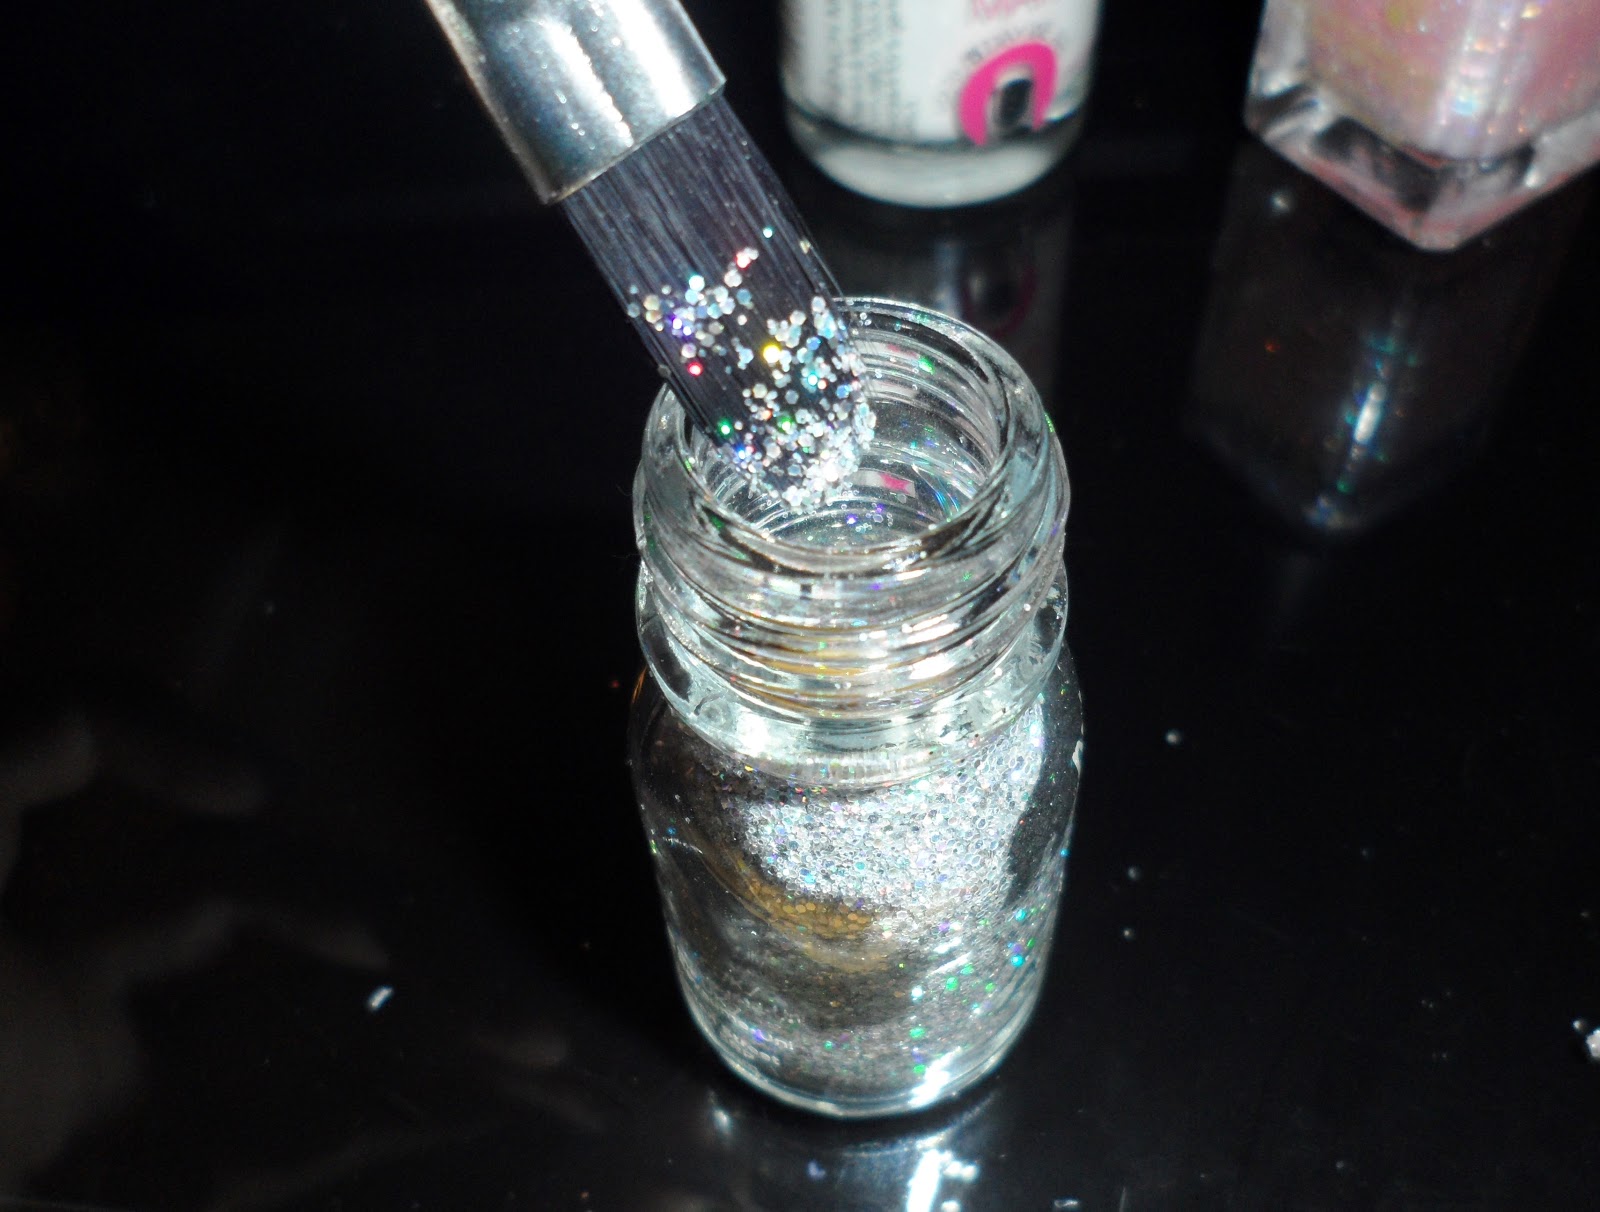
For this design you will need some silver nail glitter, and  black, light pink and clear polishes. I used (l-r) Nails Inc Bling it on Rocks glitter, Barry M #47 Black, Barry M #309 Strawberry Ice Cream and a basic clear topcoat. You will also need an application brush for the glitter.

2)

Begin by painting two thin coats of your pink varnish on all of your nails

3)

Paint a clear top coat on your accent nail; while it is still wet, brush your glitter across the base of your nail, make this section very glittery

4)

Then brush a thinner layer of glitter onto the rest of your nail to create the gradient effect.

5)


Repeat the last two steps on your thumb nail.

6)


Take your black polish and carefully paint a diagonal line across the top of your nail, fill in the remaining triangle shape. Allow this to dry fully before the next step.

7)


Once the black section is fully dry, use your clear polish to paint a diagonal line along the edge of the black shape. Then brush some glitter onto this line.

8)


Repeat this for the rest of your nails.


And this is the finished pink and black glitter gradient nail design :)


8 March 2013

Blue Sparkle Bow Nails


This tutorial shows you how to create this blue, white and silver sparkly design with polka dots and a cute bow on the thumb nail. 

1)


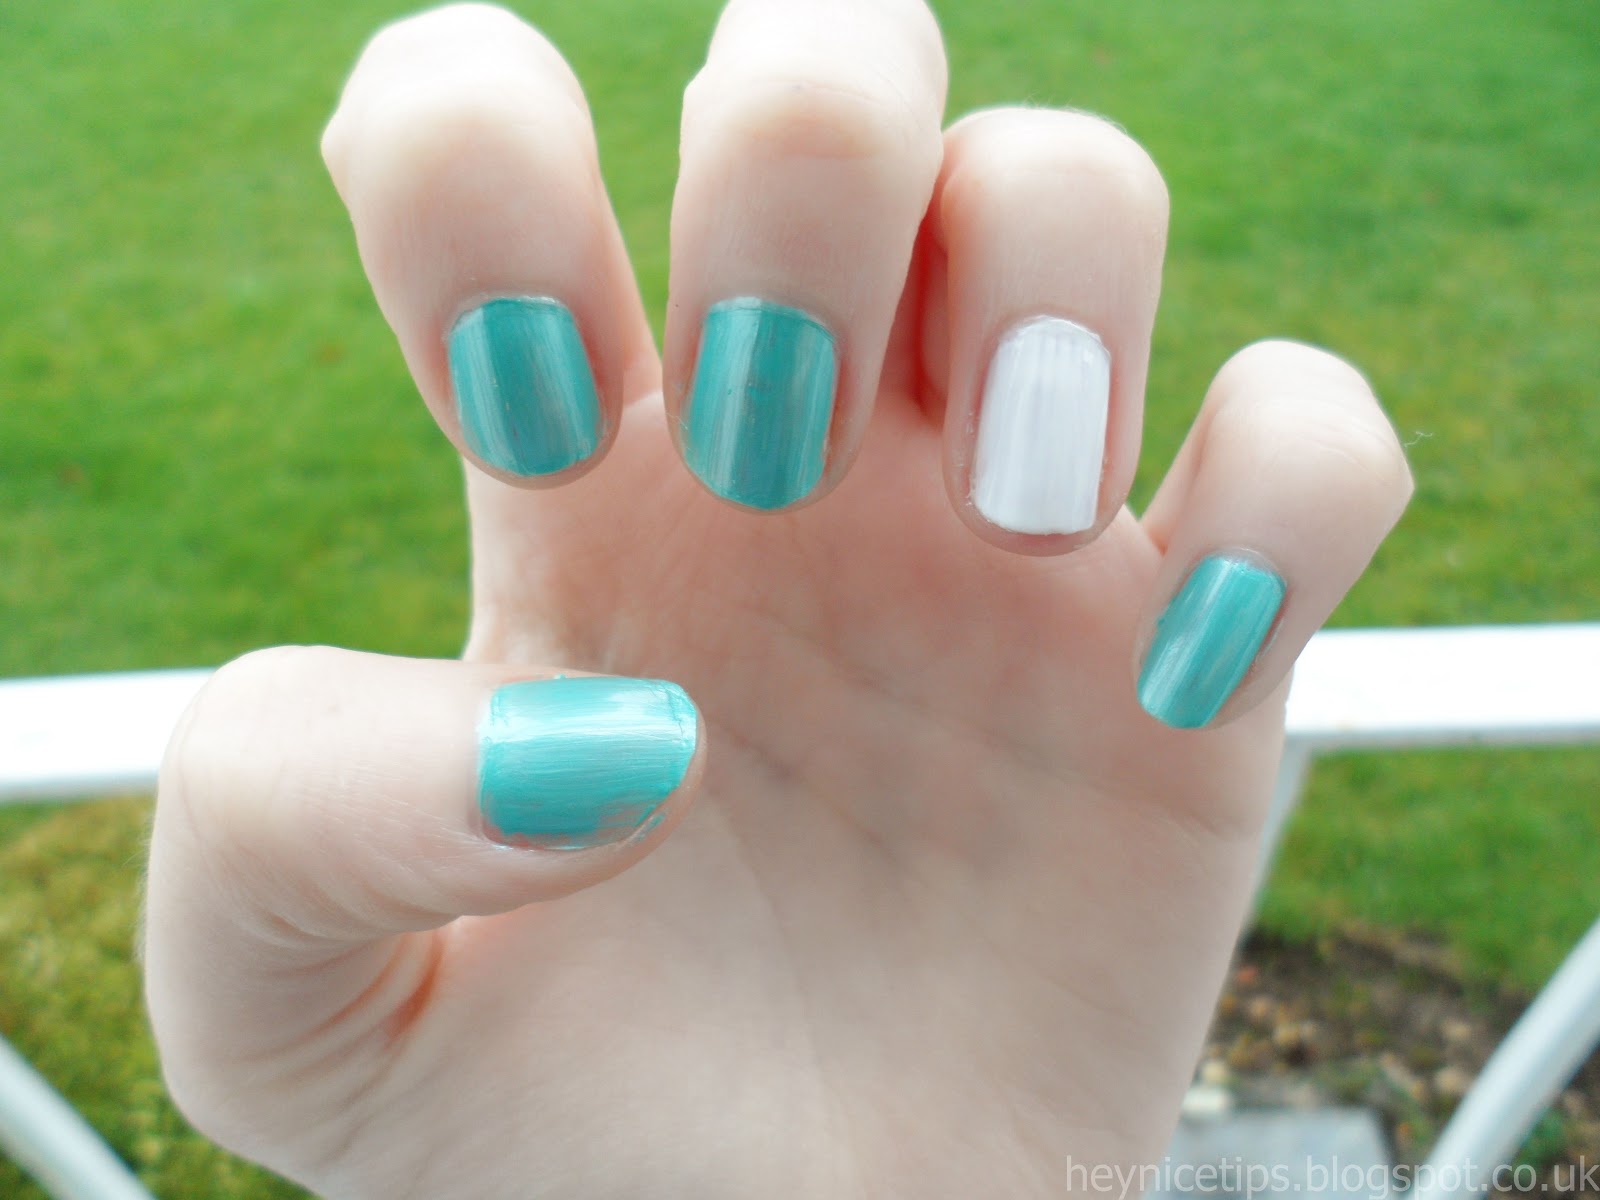
For this design you'll need a white, light blue, clear, silver and a sparkly polish, some silver nail glitter and an application brush. 

2)

Begin by painting your accent nail white, and all the rest with your blue polish

3)


On your accent nail paint straight lines of silver polka dots.

4)


Next, take your sparkly polish and carefully add some sparkles to each polka dot

5)


Paint over your middle and little finger nails with your clear top coat, then get some of your nail glitter on your application brush.

6)


Dab glitter all over your middle and little finger nails.

7)


Using your white shade, carefully paint a diagonal stripe across the top of your nail.

8)


Then use your silver varnish to add some random polka dots, again go over them with your sparkly polish.

9)


On your thumb nail, paint a small circle with your white shade. add a triangle shape extending from each side.

10)

Add two small silver lines across the edges of the circle shape, then using a toothpick add some polka dots.

and this is the finished light blue sparkly bow nail art design :)


5 November 2012

Cosmic Constellation Bead Nails


This tutorial shows how to use nail art beads to create this purple constellation design :)

1)

For this design you will need a clear topcoat, a purple varnish and some nail art beads. I used Barry M#303 bright Purple and the beads are MUA Nail Constellation in Leo which comes in a shaker pot for easy use.

2)

Begin by painting all of your nails with your purple shade.

3)


Next, paint a coat of your clear varnish on your accent nail.

4)

Then drop some of your nail beads all over your accent nail; the one I used had a shaker which made it pretty easy, but if you just have loose beads you can put them in a cup and just pour them over.

5)


Press the beads down so there is an even layer, then repeat this on your thumb nail.

And this is the finished cosmic constellation nail bead design :)


29 August 2012

Breaking Bad Nail Art


This is a nail art tutorial based on one of my favourite TV shows; Breaking Bad. It features the Br Ba logo on the thumbnail, Heisenberg/Walter White on the accent nail and the remaining nails are sparkly blue to represent their 'product' Blue Sky :)

1)

For this nail art you will need five varnishes; a dark green, black, white, clear/pale glitter and light blue. My first three are from a Nail Star set, then I have used Barry M #264 Pink Iridescent and Barry M#306 Blueberry Ice Cream.

2)

Start by painting your thumbnail dark green, your accent nail white and the remaining three nails with your light blue shade. Using two thin coats usually works best.

3)

The first stage of this nail art is to create the 'Blue Sky' design; do this by painting two coats of your glitter polish on top of the blue nails, the more glitter the better :)

4)

The thumbnail is probably the most tricky part of this nail art; begin by using your white shade to carefully paint the first 'B' in the top left corner of your nail - if you find using the brush is difficult, try using a toothpick instead.


5)

Again using your white polish, add a lower-case 'r' next to the first 'B'. Then paint another 'B' just below and right of the 'r'. 

6)

The lower-case 'a' is probably the most difficult letter; start by painting the top curved part and bring the line straight downwards, then add the circular/loop part of the letter. 

7)

The final stage of the Breaking Bad design is the infamous Heisenberg poster; begin by using your black polish and paint a line about 2/3 up your nail, as in the first picture (sorry for the bad quality!). Next, add the square on top of your line to create his hat, then paint another line about half way up your nail. 

8)

Next, add two semicircles underneath your line to create his sunglasses.

9)

To finish the Heisenberg design add a curved black line beneath the sunglasses to create the moustache :)

And this is the finished Breaking Bad nail art design :)