Social Icons

Showing posts with label pink. Show all posts

2 August 2014

Summer Inspiration: Tropical Triangle Nails


This tutorial will show you how to create this Tropical Triangle nail design, using simple lines and bright summer colours :)

1)

For this design you need a green, orange/peach, bright pink and blue polish. I used Barry M Gelly #317 Key Lime Pie and #319 Papaya, MUA #20 and Rimmel #825 Sky high.

2)

Start by painting your accent nail using your green shade, then paint the rest of your nails with your orange polish. Use two thin coats.

3)

Next, on your green nail use your blue polish to carefully paint three diagonal lines across the top corner. 

4)

Paint a further two lines extending in the opposite direction from your first three lines.

5)

Then add two lines across the bottom of your nail, don't overlap your lines. 

6)

Next, on your orange nails, use your pink shade to create the pattern again as in steps 3-5.

Repeat this on the rest of your orange nails to complete the look.

And this is the finished Tropical Triangle nail design :)


14 July 2014

Summer Inspiration: Flamingo Gradient Nails


This tutorial is the first in my Summer Inspo collection of fun nails that are great for holidays :)
Here you'll find out how to create this cute flamingo design along with some bright yellow/pink gradient nails.

1)

You'll need a dark pink, white, light/mid pink, yellow, black and a topcoat. Here are the polishes I used (black was Barry M - not pictured!). 

2)

Start off by painting two thin coats of your yellow shade on all of your nails.

3)

Next, take your light/mid pink and paint a semi circle across the top of your accent nail. Leave a slight gap on either side for the detail next. Don't worry if your edges aren't perfect as they will be covered with a darker shade!

4)

Now you'll need to use your dark pink polish to carefully add some flamingo detail. Start by painting a thin semi-circle around your light pink 'body'. Next, paint a question mark type shape that connects to the bottom left of the semi circle. I found it easier to do some little dots at key points in the shape then join them up. Starting at the top also helps with blending any excess polish!

5)


Next, take your white polish and using a corner of the brush paint a small circle for your flamingo's eye. Then take your black shade and add a smaller dot using the same technique - if your brush is too thick or you find it tricky try using a toothpick. Add a small triangle at the end of the face for a beak.

6)


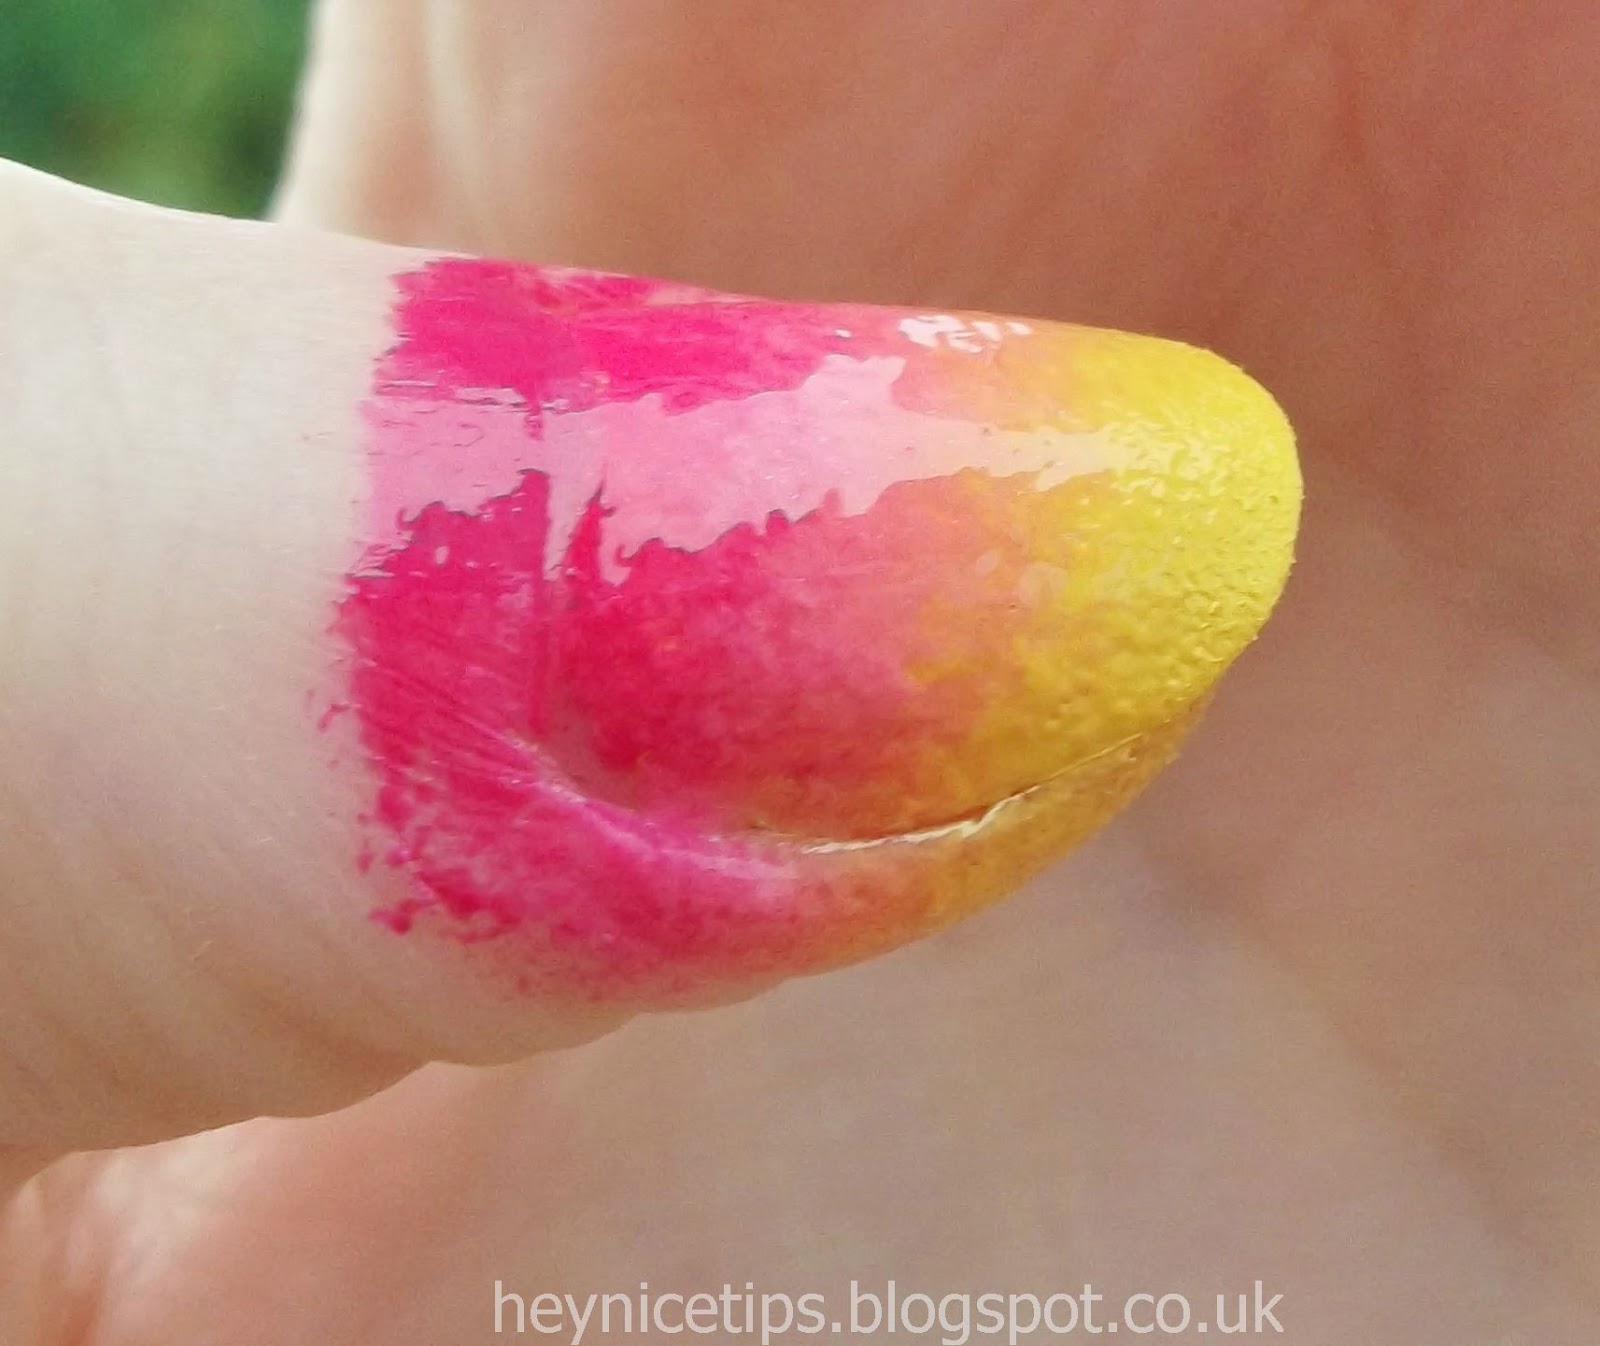
Now all you need to do is paint your gradient nails! Take a sponge (washing up/make up/any kind of sponge) and paint the gradient pattern onto it. Have the darkest pink at the top, then the mid pink and lastly the yellow. It works best if you overlap them a little.

7)


Then take the sponge and dab it onto your nail until it is properly covered with the gradient pattern. You may have to dab it a few times and this can be messy. Top up the paint on your sponge as you go to add the gradient to all your nails. Lastly use some nail varnish remover and a q-tip to clean up those edges and add a top coat if you have one.

And this is the finished Flamingo Gradient nail design :)


17 April 2013

Pink Floral Birdcage Nails


This tutorial shows how to make this pretty design. It features a pink birdcage, bird silhouettes and some flowers - a cute design perfect for spring time :)

1)


For this tutorial you'll need a green, light pink, aqua blue, medium pink and a clear topcoat. You'll also need some pink nail gems. I used (l-r) Nail Star Light Green, Barry M #309 Strawberry Ice Cream, Rimmel Lasting Finish #703 Pear Drop, Barry M #279 Bright Pink. 

2)

First paint all your nails with your aqua blue varnish. 
3)

For the flowers, start by painting some irregular circle shapes with your darker pink on your middle and thumb nails.

4)

Next, use your light pink shade to carefully paint some definition onto the flowers. To do this, paint stretched out 'C' and 'U' shapes. 

5)

Now for the birdcage, paint a thin square on your accent nail with your darker pink polish. Then add a curved dome shape on top, and a little line extending from this.

6)

Next, make sure you only have a small amount of varnish on your brush, and carefully paint some cage lines inside your square and dome. Then add two small diagonal lines extending from the bottom corners to add some detail.

7)

Now for the bird silhouette, start by painting a thin, elongated 'M' shape across the side of your index nail.

8)

Next, fill out this shape a little bit to create some curved wings. One brushstroke across each length should do it. 

9)

To complete the bird design, add a slightly angled square at the bottom to create tail feathers. Then add a small rounded line at the front for the bird's head. Paint a layer of your topcoat over your nail, and then using tweezers apply three light pink gems to the opposite corner. Repeat on your little finger nail, and if you like paint the bird in the opposite direction with gems at the bottom (which I have done).

And this is the finished pink floral birdcage design :)


10 March 2013

Pink & Black Glitter Gradient Nails


This tutorial shows how to create this light pink glittery design. It features two gradient glitter nails and a diagonal black pattern. 

1)

For this design you will need some silver nail glitter, and  black, light pink and clear polishes. I used (l-r) Nails Inc Bling it on Rocks glitter, Barry M #47 Black, Barry M #309 Strawberry Ice Cream and a basic clear topcoat. You will also need an application brush for the glitter.

2)

Begin by painting two thin coats of your pink varnish on all of your nails

3)

Paint a clear top coat on your accent nail; while it is still wet, brush your glitter across the base of your nail, make this section very glittery

4)

Then brush a thinner layer of glitter onto the rest of your nail to create the gradient effect.

5)


Repeat the last two steps on your thumb nail.

6)


Take your black polish and carefully paint a diagonal line across the top of your nail, fill in the remaining triangle shape. Allow this to dry fully before the next step.

7)


Once the black section is fully dry, use your clear polish to paint a diagonal line along the edge of the black shape. Then brush some glitter onto this line.

8)


Repeat this for the rest of your nails.


And this is the finished pink and black glitter gradient nail design :)


16 February 2013

Valentine's Hearts & Roses Nails


This tutorial shows how to make this pretty pink and red design, which is perfect for valentine's :) It features lots of little hearts and some pink roses for a cute look. 

1)

For this tutorial you will need five colours: red, light pink, white, dark pink and green. I used (l-r) Collection #5 Fire Engine, Barry M #309 Strawberry Ice Cream, Collection #103 French White, and the last two are from a nail art set. 

2)

Begin by painting two thin coats of your white polish on all of your nails.

3)

First we need to add the hearts. To make a heart just carefully paint two little dots almost touching each other.

4)

Next, carefully paint a little triangle shape at the bottom of your two dots by extending a diagonal line from the edge of each dot and filling in the middle. 

5)


Add some more hearts using your red and pink varnishes using the same method. Repeat this pattern on your thumb nail.


6)

Now it's time to paint some roses: start by using your light pink shade to paint some random, uneven blob shapes on your remaining three nails.

7)

Next, using your dark pink polish, carefully add some detail to your roses. Do this by painting some concentric curves on the light pink blobs - try to create C and U shapes. 

8)

The last step is to add some leaves to the roses: take your green shade and paint one or two little lines extending from each of your flowers. 

And this is the finished Valentine's hearts and roses nail art design :)