
This is another Halloween themed tutorial for October - five of Dr.Frankenstein's monsters :)
1)
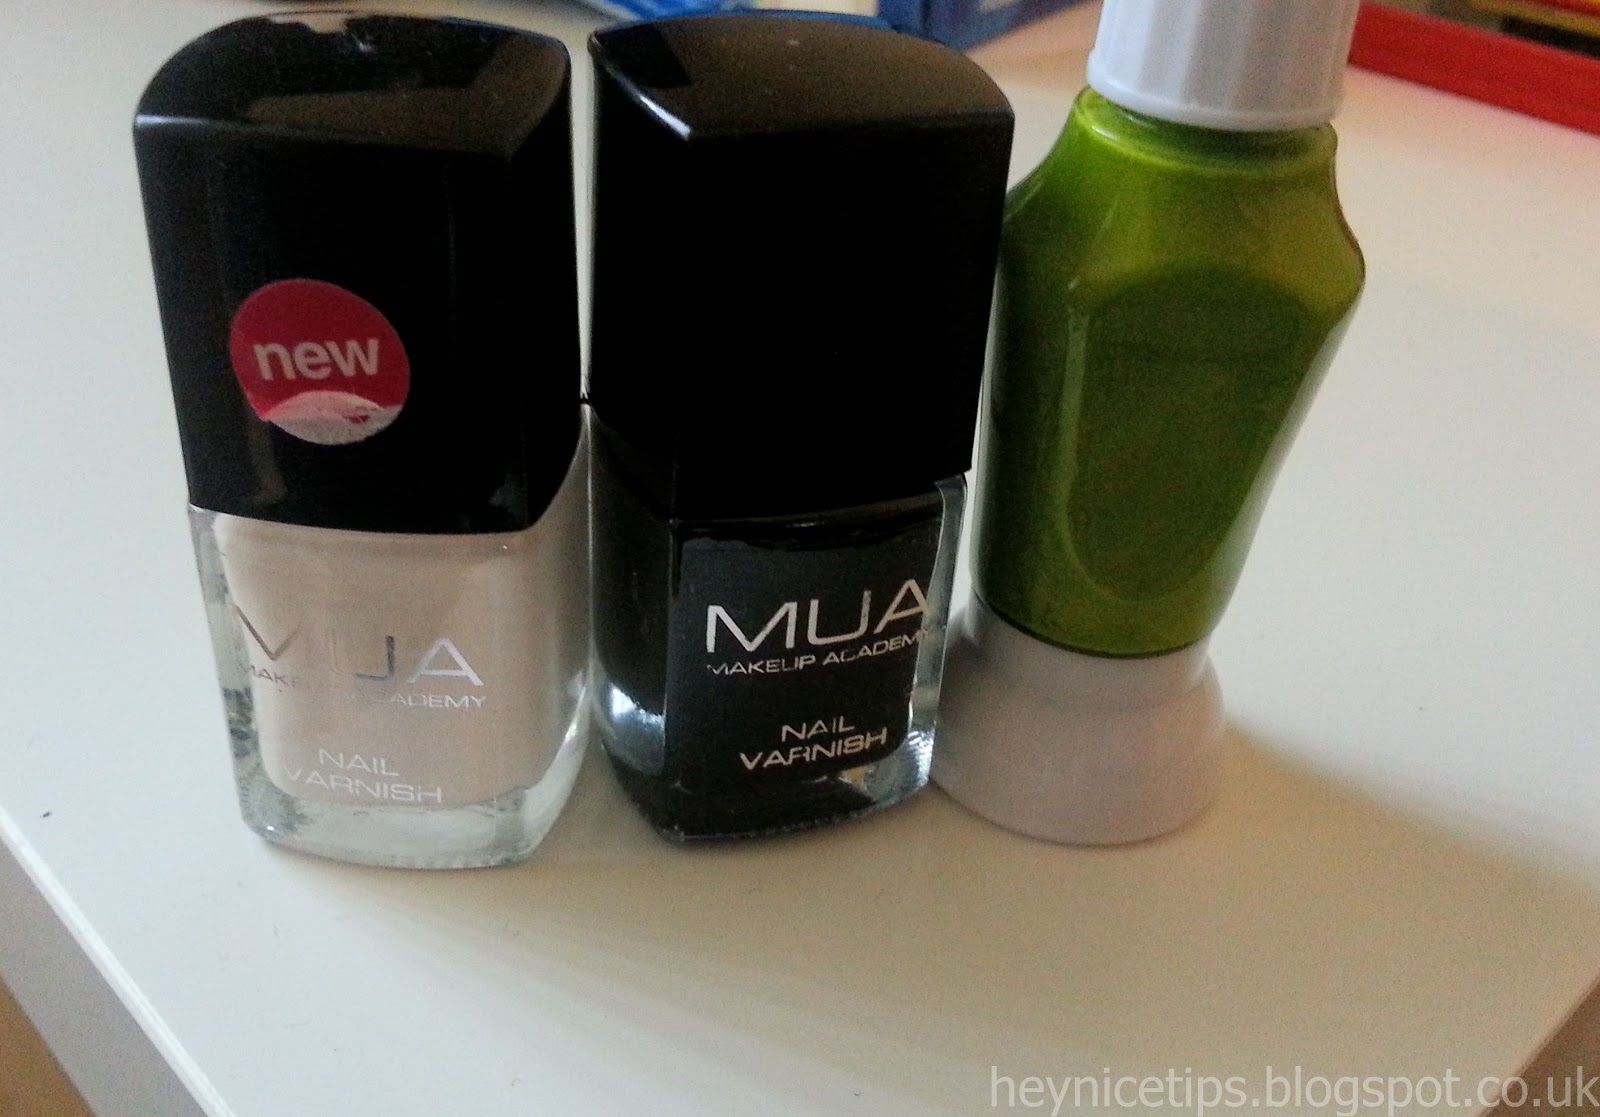
For this nail design you need three colours; white, black and green. I used MUA All Nude, MUA #2 and the green is from a Nail Star set.
2)

The first step is to paint two thin coats of your green varnish on all of your nails.
3)

Next, using your black varnish, paint a broad stroke along the bottom of your nail, then paint two thin strokes extending down each side of your nail to create the outline of the monster's hair.
4)

To finish off the hair simply paint random triangle-like shapes extending from the broad black line at the base of your nail. Around 3 or 4 triangles will fit best. Make sure there isn't any excess paint on your brush or they will drip down lower than you want.
5)

Next, use your white polish to paint two blobs to create the circle shape needed for the eyes. these do not need to be perfectly round; it's a monster after all :)
6)

Then take your black polish and carefully dot a little circle in each white blob to create the eyes. Next, carefully paint a mouth line around 3/4 down your nail that stretches almost to each side.
7)

The last step is to, using your black varnish, carefully paint three or four vertical lines through the initial mouth line. Repeat these steps for the rest of your nails or just have one accent monster :)
And this is the finished Frankenstein monster nail art design:


No comments:
Post a Comment