This tutorial shows how to make this black and gold aztec print nail design, perfect for the party season :)
1)
For this design you only need two colours; black and gold. I used Barry M Foil Effects #320 and Black #47
2)
3)
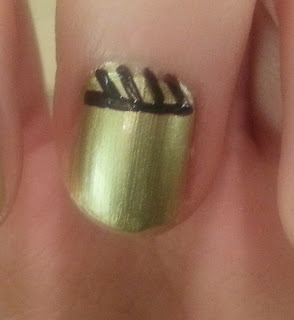
Aztec nail patterns are all about lines and dots, zig zags, diagonal lines etc. You can choose whichever you like really, so I will demonstrate how I created the middle finger design and then you can pick and choose from these what to do on the remaining nails. For this nail start by painting a straight line just under the top of your nail, then paint diagonal lines from this upwards.
4)
Next, paint two more black lines in the middle of your nail.
5)
Between these two lines, use your black polish to paint thick zig-zagging diagonal lines, which will create the little gold triangles between them. Then paint another straight line just below this part and paint straight vertical lines between the two.
6)
Next, paint some tiny dots just under the last part of the design, and finish with a straight black line across the tip of your nail.
7)
For your remaining nails, use any combination of lines and dots that you like, they are all fairly simple to do, just make sure you only have a tiny bit of varnish on your brush!
8)
Next, do the same with your alternate colour on your remaining nails if you alternated your base colours.
And this is the finished black and gold aztec print nail art design :)


No comments:
Post a Comment