Social Icons

Showing posts with label black. Show all posts

21 April 2013

Black & White Heart Nails


This tutorial shows how to create this black and white heart design. This is a quick and simple tutorial that gives a stylish monochrome look :)

1)

For these nails, you only need white and black polish; I used, Collection #103 French White and Barry M #47 Black. You might want to have a toothpick handy if you find smaller designs tricky as some brushes are a  bit wide.

2)


Start by painting your thumb and accent nail with your white shade, then paint the rest black.

3)

To paint a heart, simply add two dots of black side by side on your accent nail. 

4)


Next, carefully paint a diagonal line  extending from each dot so that they meet just below them. It should be a triangle type shape, and if you have difficulty with this try using a toothpick instead of a brush. 

5)

Repeat this heart design all over your accent nail, they can all be in the same direction or you can do them randomly. Then add hearts in the same way to your thumb nail. 

And this is the finished black and white heart design :)


10 March 2013

Pink & Black Glitter Gradient Nails


This tutorial shows how to create this light pink glittery design. It features two gradient glitter nails and a diagonal black pattern. 

1)

For this design you will need some silver nail glitter, and  black, light pink and clear polishes. I used (l-r) Nails Inc Bling it on Rocks glitter, Barry M #47 Black, Barry M #309 Strawberry Ice Cream and a basic clear topcoat. You will also need an application brush for the glitter.

2)

Begin by painting two thin coats of your pink varnish on all of your nails

3)

Paint a clear top coat on your accent nail; while it is still wet, brush your glitter across the base of your nail, make this section very glittery

4)

Then brush a thinner layer of glitter onto the rest of your nail to create the gradient effect.

5)


Repeat the last two steps on your thumb nail.

6)


Take your black polish and carefully paint a diagonal line across the top of your nail, fill in the remaining triangle shape. Allow this to dry fully before the next step.

7)


Once the black section is fully dry, use your clear polish to paint a diagonal line along the edge of the black shape. Then brush some glitter onto this line.

8)


Repeat this for the rest of your nails.


And this is the finished pink and black glitter gradient nail design :)


15 January 2013

Monochrome Aztec, Spots & Stripes Nails


This tutorial shows how to create this black and white design, which features aztec, striped and spotted patterns. Monochrome is a big trend for this upcoming season, as well as stripes, so this design was inspired by that :)

1)

For this design you only need two colours: black and white. I used MUA All Nude and Barry M #47 Black. 

2)

Begin by painting two coats of your white varnish on all of your nails.

3)

For your little finger, use your black polish to add random black polka dots all over the nail. Do this by simply dabbing the corner of your brush to create the dots.

4)


For the aztec pattern on the accent nail, begin by painting two lines across the nail, then add some zig-zagging lines connecting the two. If you find this difficult, try using a toothpick instead of your nail brush to get a finer line.

5)


Aztec patterns are all about dots, lines and triangles, so you can pretty much chose whatever you like for the rest of the pattern. Try looking at my Black and Gold Aztec tutorial for some more ideas :). Here I just added some dots, then some slanted lines and then a thicker triangle design at the bottom. 

6)


Repeat the aztec pattern process on your thumb nail. 

7)


Next, using your black varnish carefully paint thin vertical stripes down your middle finger nail. 

8)


The last step is to carefully paint horizontal black stripes across your remaining nail. Try rotating your nail towards your brush stroke to get a smoother line.

And this is the finished black and white aztec/spot/stripe nail design :)


18 December 2012

Black & Gold Aztec Nails


This tutorial shows how to make this black and gold aztec print nail design, perfect for the party season :)

1)

For this design you only need two colours; black and gold. I used Barry M Foil Effects #320 and Black #47

2)


Begin by painting your nails black or gold, they can be all one colour or alternating (it'll look the same in the end), but if you find one of your varnishes easier to do intricate patterns with, then use the other for the background. 

3)


Aztec nail patterns are all about lines and dots, zig zags, diagonal lines etc. You can choose whichever you like really, so I will demonstrate how I created the middle finger design and then you can pick and choose from these what to do on the remaining nails. For this nail start by painting a straight line just under the top of your nail, then paint diagonal lines from this upwards.

4)

Next, paint two more black lines in the middle of your nail.

5)


Between these two lines, use your black polish to paint thick zig-zagging diagonal lines, which will create the little gold triangles between them. Then paint another straight line just below this part and paint straight vertical lines between the two.

6)

Next, paint some tiny dots just under the last part of the design, and finish with a straight black line across the tip of your nail.

7)


For your remaining nails, use any combination of lines and dots that you like, they are all fairly simple to do, just make sure you only have a tiny bit of varnish on your brush! 

8)


Next, do the same with your alternate colour on your remaining nails if you alternated your base colours.

And this is the finished black and gold aztec print nail art design :)


31 October 2012

Beetlejuice Nails


This tutorial shows how to create this Halloween movie design - Beetlejuice on the accent nail and the famous pinstripe pattern :)

1)

For these nails you will need four colours; light purple, green, black and white. I used (l-r) Barry M#308 Berry Ice Cream, Nail Star green, MUA #2, MUA All Nude. 

2)

Start off by painting two thin coats of your white polish on all of your nails.

3)

For the first part of the Beetlejuice nail carefully paint a broad arch stroke halfway down your nail with your green varnish.

4)

Next, for the hair use your green shade to paint upward strokes. Finish them at slightly different heights in order to create that wild hair look. Paint two light purple circles for his eye make up.

5)

Then, using your white varnish carefully add two small white blobs within the purple circles. Then use your black polish to add two small pupil dots inside the white blobs.

6)

To finish off the design use your black varnish to paint these pinstripes on all of your nails, including around the Beetlejuice design. Try to do each line in one stroke to keep them as even as possible, and avoid having excess polish on your brush. 

And this is the finished Beetlejuice nail art design :)


24 October 2012

Frankenstein Monster Nails


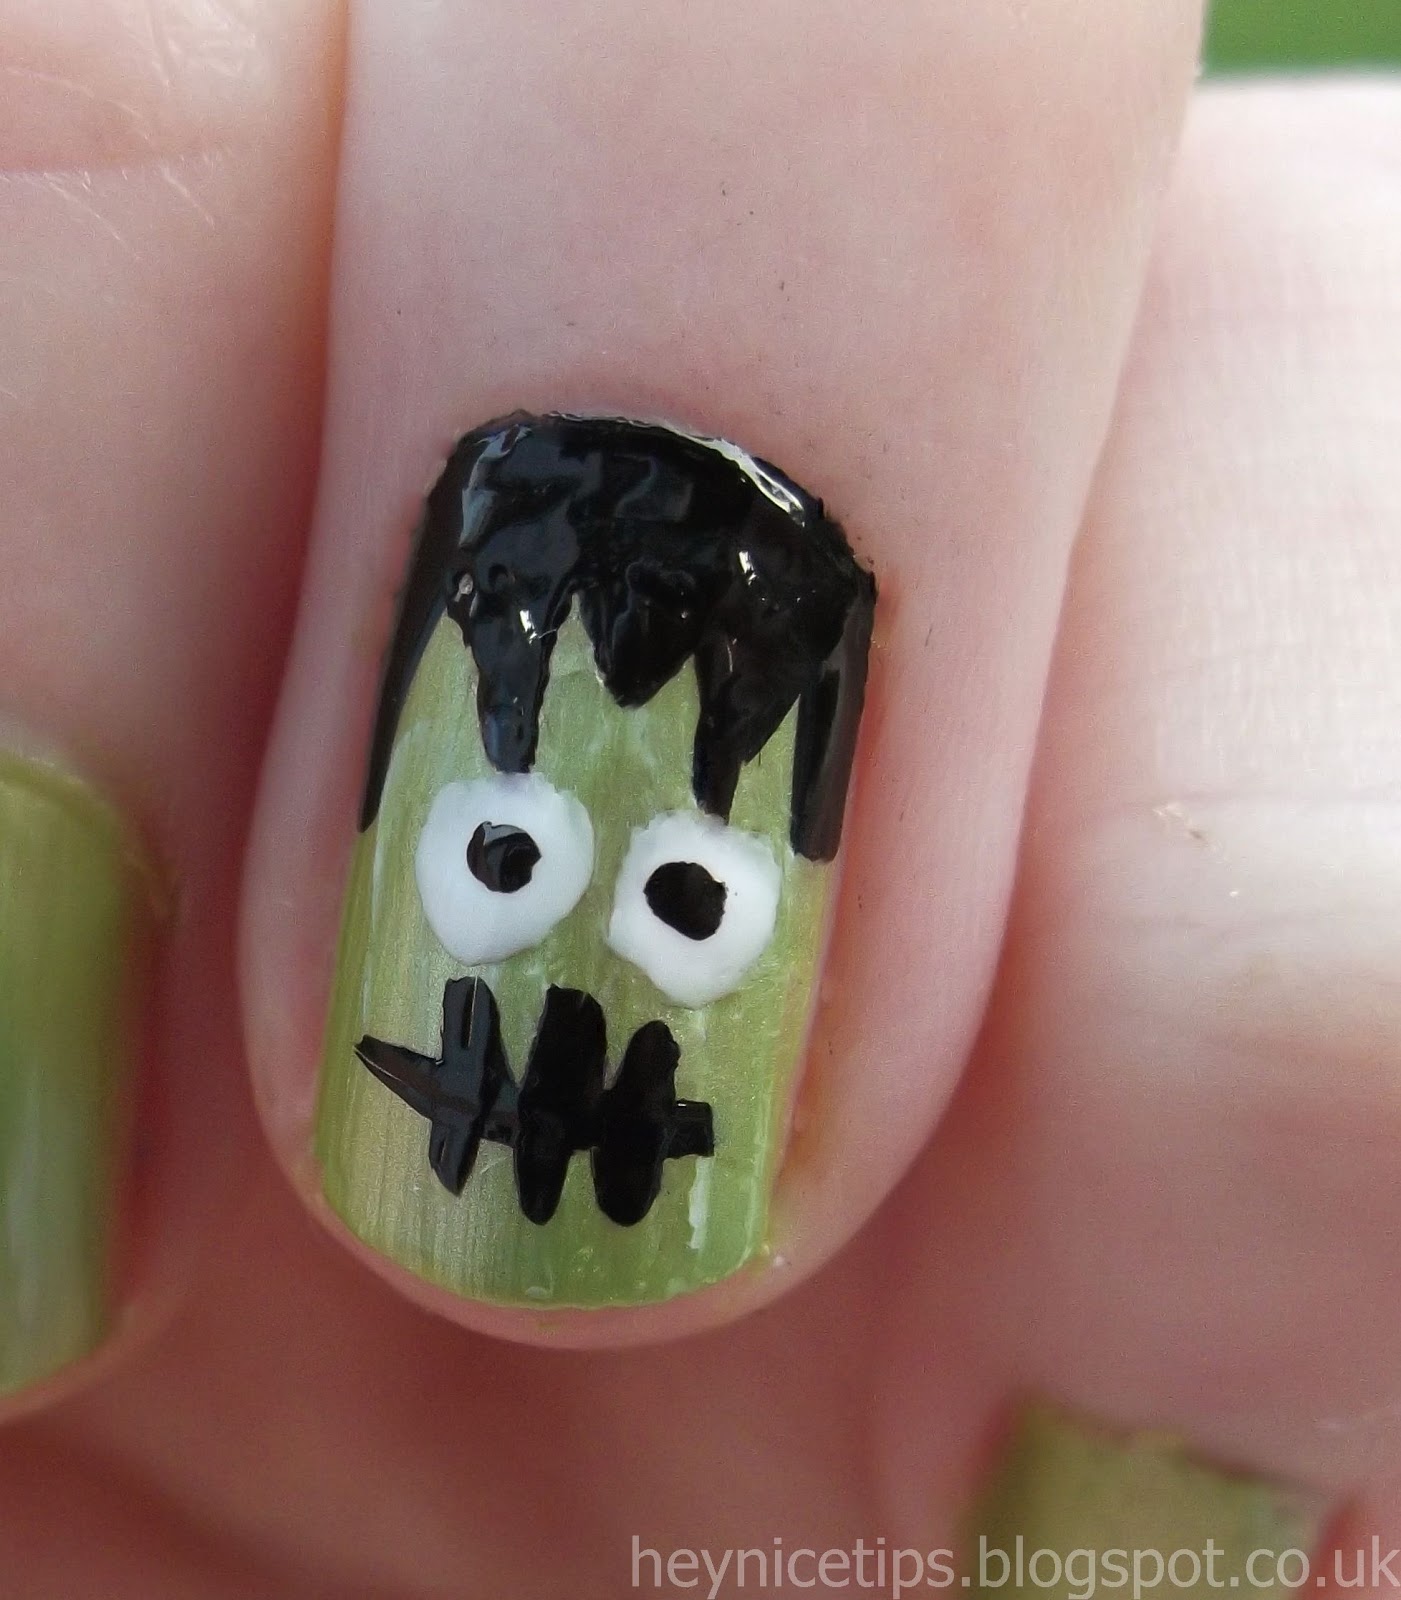
This is another Halloween themed tutorial for October - five of Dr.Frankenstein's monsters :)

1)

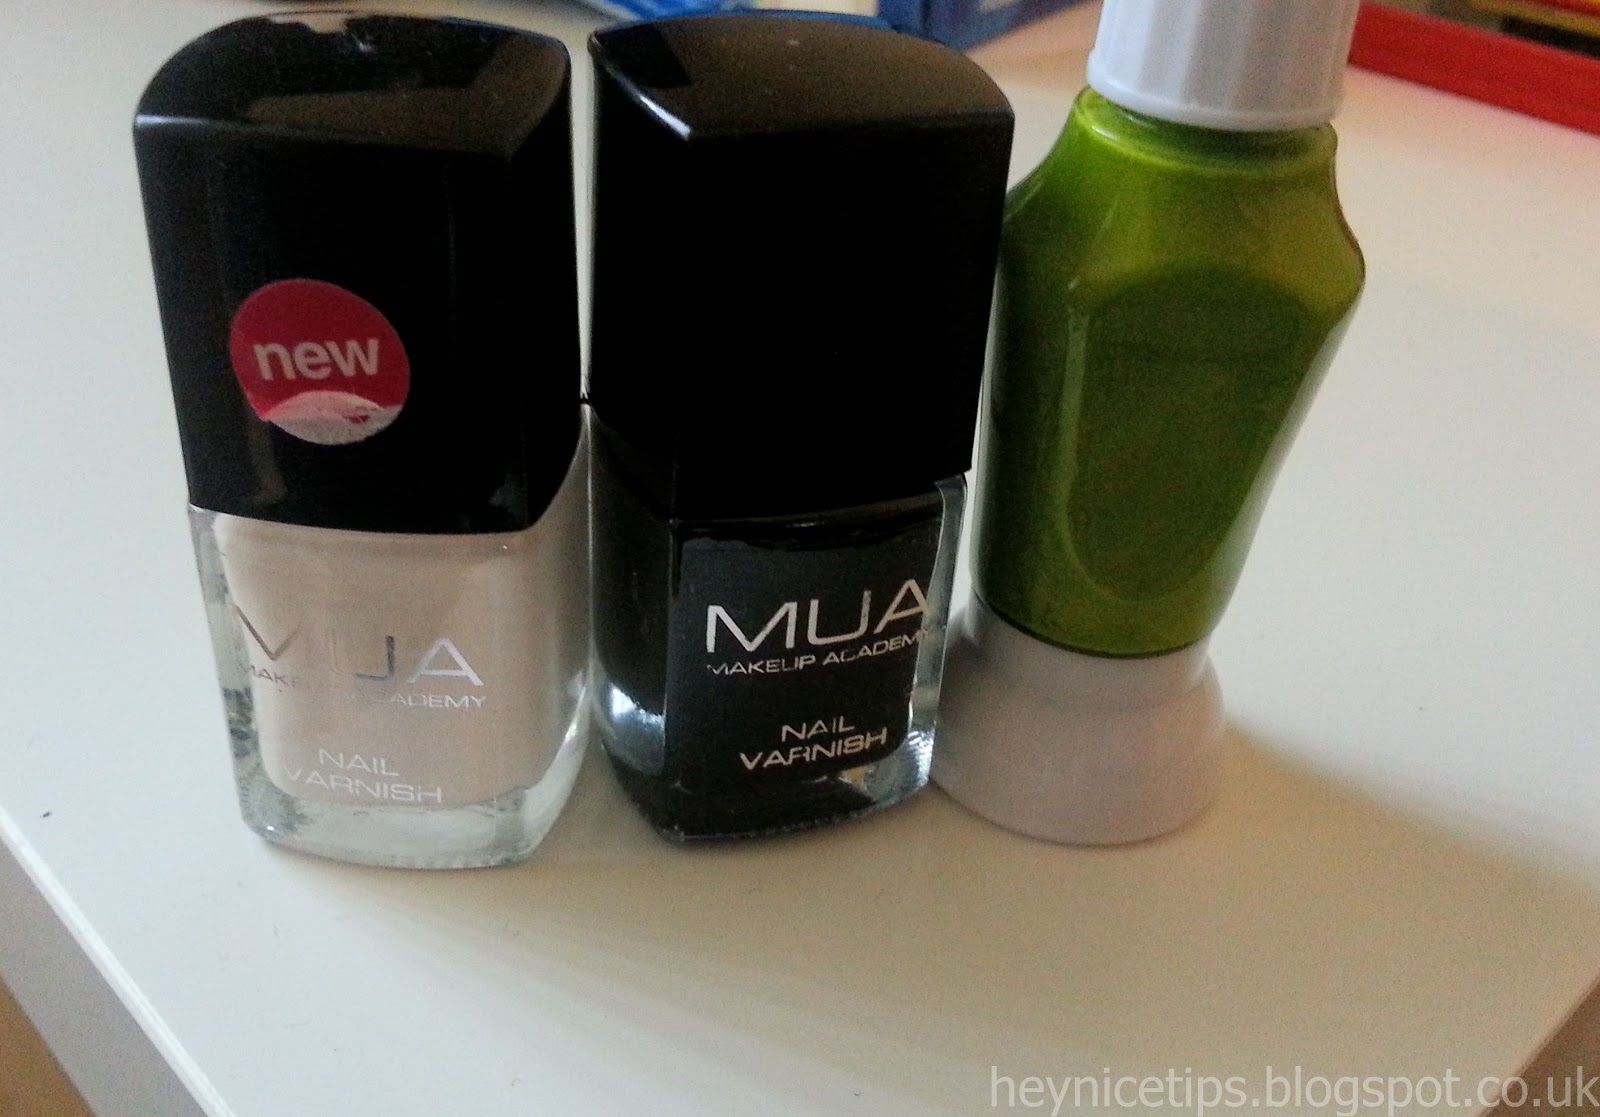
For this nail design you need three colours; white, black and green. I used MUA All Nude, MUA #2 and the green is from a Nail Star set. 

2)

The first step is to paint two thin coats of your green varnish on all of your nails.

3)

Next, using your black varnish, paint a broad stroke along the bottom of your nail, then paint two thin strokes extending down each side of your nail to create the outline of the monster's hair. 

4)

To finish off the hair simply paint random triangle-like shapes extending from the broad black line at the base of your nail. Around 3 or 4 triangles will fit best. Make sure there isn't any excess paint on your brush or they will drip down lower than you want. 

5)

Next, use your white polish to paint two blobs to create the circle shape needed for the eyes. these do not need to be perfectly round; it's a monster after all :)

6)

Then take your black polish and carefully dot a little circle in each white blob to create the eyes. Next, carefully paint a mouth line around 3/4 down your nail that stretches almost to each side. 

7)

The last step is to, using your black varnish, carefully paint three or four vertical lines through the initial mouth line. Repeat these steps for the rest of your nails or just have one accent monster :)

And this is the finished Frankenstein monster nail art design: